

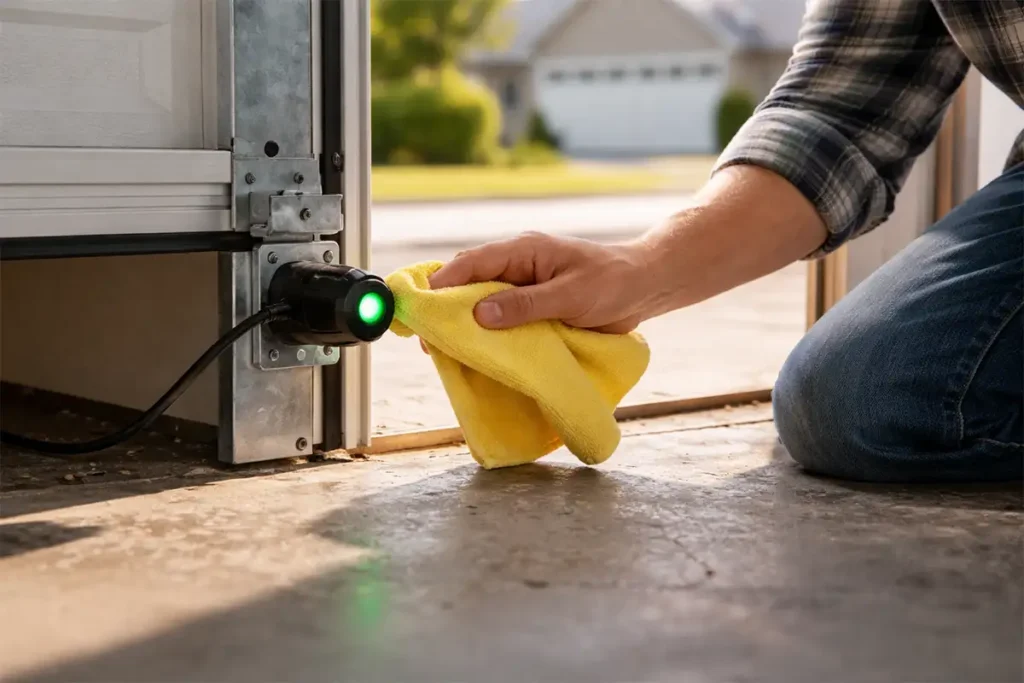
Your garage door is one of the hardest-working parts of your home. It opens and closes thousands of times a year, supports significant weight, and endures whatever the British weather throws at it. Despite this, it’s often one of the most neglected components of a property. Use our garage door maintenance tips to keep you on track.
Performing regular garage door maintenance will go a long way. By spending just 15–20 minutes twice a year on simple checks, you can prevent costly repairs, extend the lifespan of your door, and ensure it operates safely for years to come.
This guide provides a practical, actionable maintenance checklist that any homeowner can follow. We recommend running through these checks every six months—perhaps when the clocks change in spring and autumn. It’s a simple routine that will save you time, money, and frustration in the long run.
We’ve also included a downloadable PDF version of this checklist so you can print it off and keep it in your garage. Having a physical copy means you can tick off each task as you go and never miss a step.
Why Regular Garage Door Maintenance Matters
Before we dive into the checklist, it’s worth understanding why regular maintenance is so important.
Prevent Costly Repairs
The most obvious benefit is that regular checks help you catch small problems before they become big ones. A minor lubrication issue today could become a seized roller tomorrow. A small crack in a cable could snap completely, leaving your door stuck open or closed.
Extend Lifespan
A well-maintained garage door can last 15–30 years. One that’s neglected might need replacing after just 10–15 years. Considering the cost of a new door, the investment of a few minutes twice a year is well worth it.
Ensure Safety
Garage doors are heavy and operate under extreme tension. A poorly maintained door is more likely to fail, and when it does, the consequences can be serious. Regular safety checks help protect your family and property.
Preserve Kerb Appeal
A well-maintained garage door looks better too. It enhances your home’s kerb appeal and can even add value to your property if you decide to sell.
Your Twice-Yearly Garage Door Maintenance Checklist
This checklist is designed to be completed every six months. You can download a printable version at the end of this guide to keep in your garage and tick off each task as you complete it.
1. Visual Inspection
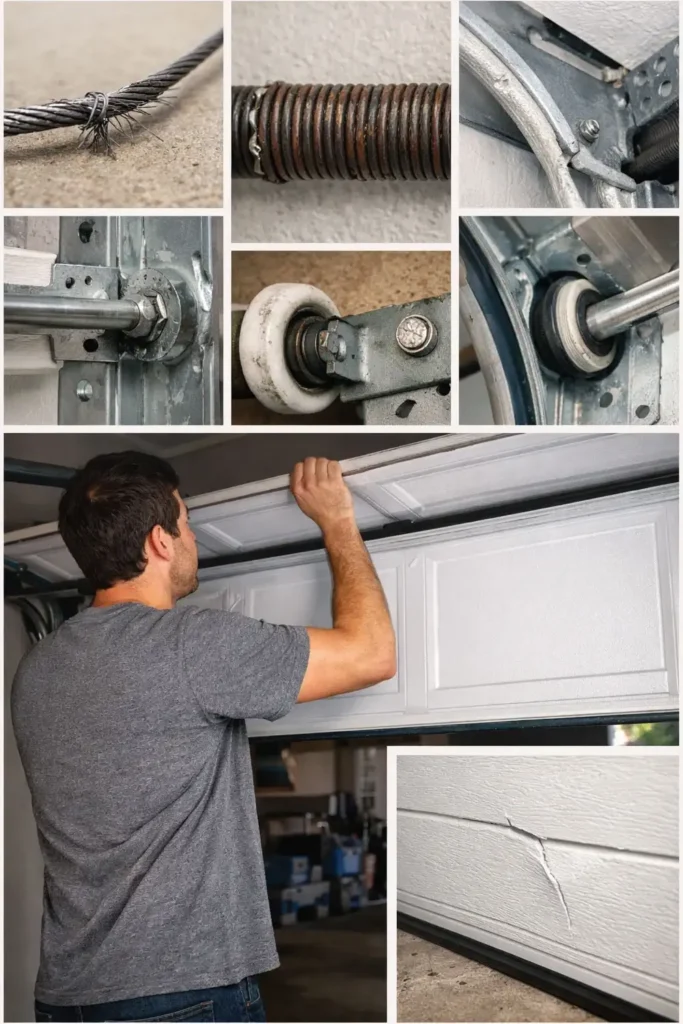
First of all complete a thorough visual inspection of the garage door. Look for signs of wear and tear on the springs, cables, rollers, and tracks.
What to look for:
- Rust or corrosion on springs and tracks
- Frayed or damaged cables
- Worn or cracked rollers
- Dents or damage to panels
- Cracks in the weather seals at the bottom and sides of the door
If you see anything that looks worn or damaged, make a note of it. Some issues—like worn rollers or damaged seals—can be fixed easily. Others—like frayed cables or broken springs—will require a professional.
2. Test the Balance
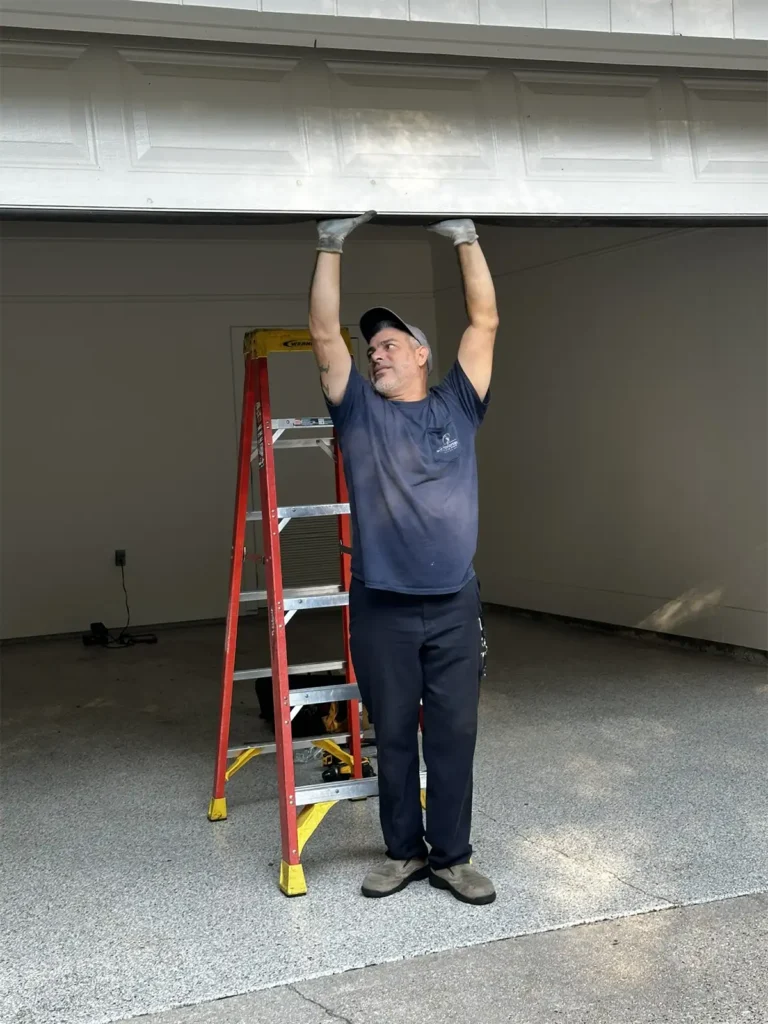
A properly balanced door is easier to operate and puts less strain on the opener.
How to test:
- Pull the emergency release cord to disengage the opener
- Manually lift the door about halfway
- Let go and observe
A well-balanced door will stay in position. If it drops or rises, the springs need adjustment—and this is a job for a professional.
3. Lubricate Moving Parts
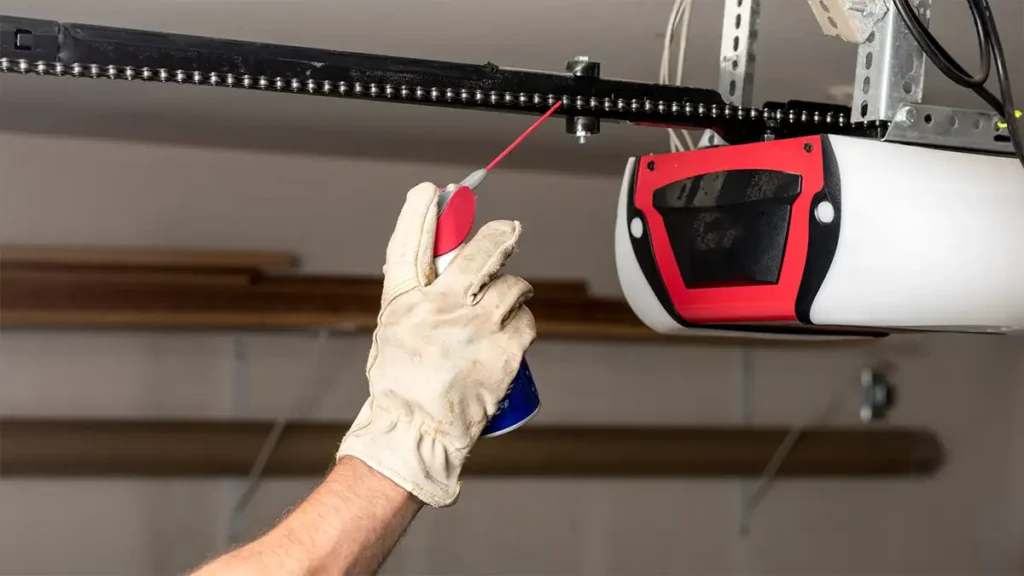
Lubrication is one of the most important maintenance tasks you can perform. It reduces friction, prevents wear, and keeps your door operating smoothly and quietly.
What to lubricate:
- Hinges
- Rollers
- Springs
- Lock mechanism
What to use: A silicone-based lubricant or a dedicated garage door lubricant. White lithium grease spray is also a good option.
What to avoid: Standard WD-40. While it works as a temporary fix, it can attract dirt and cause more problems over time.
How to apply:
- Apply a small amount of lubricant to each moving part
- Open and close the door after application to spread the lubrication throughout
- Wipe away any excess
4. Clean the Tracks
Tracks can accumulate dirt and debris, which can affect the door’s operation.
How to clean:
- Use a soft cloth or brush to wipe down the tracks
- Remove any debris that has built up
- Check for any dents or damage
Important: Never grease the tracks. This attracts dirt and can cause the door to run unevenly. Simply keep them clean and free from debris.
5. Check the Fastenings
The constant motion of your garage door can cause bolts and screws to loosen over time.
What to check:
- Bolts on the tracks and brackets
- Screws on the hinges
- Connections on the opener mount
Tighten any that have come loose. If you notice anything that looks damaged or severely worn, consider replacing it.
6. Test the Safety Features
Safety sensors and auto-reverse mechanisms are critical for protecting your family. Testing them is quick and easy.
Auto-reverse test:
- Place a cardboard box or rolled-up towel in the path of the closing door
- Press the button to close the door
- The door should stop and reverse immediately when it touches the object
Safety sensor test:
- Press the button to close the door
- While the door is closing, wave a broom handle or similar object across the sensor beam near the floor
- The door should stop and reverse immediately
If either test fails, clean the sensor lenses with a soft cloth. If it still doesn’t work, call a professional.
7. Check the Weather Seals
The rubber seals at the bottom and sides of your door keep draughts, moisture, and pests out.
How to check:
- Run your hand along the seals to feel for gaps
- Look for cracks or signs of wear
- Check that the bottom seal makes contact with the floor all the way across
If the seals are damaged or worn, they should be replaced. This is usually a straightforward DIY job.
8. Test the Manual Release
The manual release cord is your emergency backup if the power fails or the opener breaks.
How to test:
- Pull the release cord to disengage the opener
- Manually open and close the door to ensure it moves smoothly
- Re-engage the opener and test the button
This ensures you won’t be stuck if you ever need to operate the door manually.
9. Listen for Unusual Noises
When you open your garage door it should open smoothly and fairly quiet. Grinding, squeaking, or banging noises are often the first sign of a problem.
What different noises mean:
- Squeaking: Likely a lubrication issue—apply some lubricant
- Grinding: Could be worn rollers or debris in the tracks
- Banging: May indicate loose hardware or a broken spring
- Scraping: Could mean the door is misaligned
If you hear anything unusual that you can’t fix with lubrication, check out our garage door noise guide or call a professional.
Printable Garage Door Maintenance Checklist
You can download a printable version of this checklist below. Keep it in your garage so you can tick off each task as you complete it.
See our complete guide to garage doors for a full breakdown of types, costs, and maintenance.
Common Garage Door Maintenance Issues and Quick Solutions
| Problem | Likely Cause | Solution |
|---|---|---|
| Door won’t open | Dead remote battery, blocked sensors, broken spring | Replace battery, clean sensors, call a professional |
| Door is noisy | Worn rollers, lack of lubrication, loose hardware | Lubricate moving parts, tighten hardware, replace worn rollers |
| Door opens unevenly | Broken spring, cable issue | Call a professional immediately |
| Door closes then reverses | Blocked sensors, obstruction in the path | Clear the obstruction, clean sensor lenses |
| Door is slow to operate | Worn rollers, lack of lubrication | Lubricate moving parts, replace worn rollers |
| Door sticks | Dirty tracks, lack of lubrication | Clean tracks, lubricate moving parts |
Final Thoughts on Garage Door Maintenance
Regular garage door maintenance doesn’t have to be complicated or time-consuming. This simple checklist takes just 15–20 minutes twice a year and can save you from costly repairs down the line.
Print off the checklist, keep it in your garage, and run through it every six months. Your garage door will thank you with years of reliable, trouble-free operation.
If you ever notice anything you can’t fix yourself, don’t hesitate to call a professional.